
Guide 04 · Installing · Easy
How to install a roller blind
If the measure was right, this is the easy twenty minutes it's rumoured to be. Two brackets, four to six screws, one clip-in, one level check. Here's the whole job, including the parts of the wall the box doesn't warn you about.
The kit, complete
- Drill driver with a 2–3 mm pilot bit and a driver bit to match your screws
- Short spirit level (or the long one you already own)
- Pencil, steel tape, step stool or ladder you trust
- Stud finder if you're face-fixing to plasterboard
- Masonry bit and wall plugs if you're fixing into brick
- The blind, its brackets, screws and the chain safety device from the box. All of it.
-
Unbox and take the roll call
Two brackets (they're usually handed: one for the chain end, one for the pin end), screws, the chain safety device, the blind itself. Confirm which end is the chain end and hold the blind up to the window once, just to see it. Thirty seconds now saves drilling the brackets on backwards.
-
Mark the first bracket
Reveal fit: the bracket sits up in the top corner of the recess, square to the front edge, deep enough that the blind clears winders and handles. Face fit: at your marked height above the opening, at least 60–80 mm of wall above the opening so the roll has room. Hold the bracket in place and mark through its screw holes with the pencil. Marks, not memory.
-
Level across, then mark the second
Run the level from your first mark to the other end and mark the second bracket at exactly the same height. This is the step that decides whether the blind runs true. A headrail that's off by a few millimetres makes the fabric wander sideways as it rolls, a fault everyone blames on the blind and nobody blames on the bracket.
Don't measure up from the sill on both sides instead of using the level. If the sill isn't level, and in an older house it isn't, you've just copied its lean onto your blind.
-
Know what you're drilling into
The screw doesn't care how good your measuring was; it cares what's behind the hole.
- Timber reveal or architrave: the easy one. Pilot hole, screw, done.
- Brick: masonry bit, wall plug, then the screw. Aim for the brick, not the mortar joint; mortar crumbles and the plug spins.
- Plasterboard: find the stud or the timber lintel above the window with the stud finder and screw into that. If there's genuinely no timber where you need it, use anchors rated for the job, not the plastic plugs from the kitchen drawer. A roller gets pulled on every day of its life.
- Aluminium window frame: don't. Frames hide drainage paths and thin box sections, and one screw in the wrong wall of the section is a leak or a rattle you can't take back. If the frame is the only place to fix, that's a question for the free measure, not the drill.
-
Pilot, then fix the brackets
Pilot holes at every mark, then drive the screws snug, not heroic. Over-torqued screws strip timber and crack plaster, and a stripped hole is a bigger repair than a blind.
-
Clip the blind in and run it
Pin end in first, then the chain end clicks home (some brackets reverse this; the instructions in the box win). Run the blind down and up its full travel twice. It should meet the sill square and roll without walking sideways. If it wanders, one bracket is high; loosen, nudge, re-check with the level.
-
Fit the chain safety device. This one is law.
The tensioner or cleat in the box must go on the wall, taut, at the height the instructions state. It's not optional packaging: corded internal window coverings are covered by a mandatory Australian standard because loose cord loops have killed children. The full rules, including the 1600 mm cleat height and the loop limit, are in the cord safety guide, and the authority behind them is Product Safety Australia.
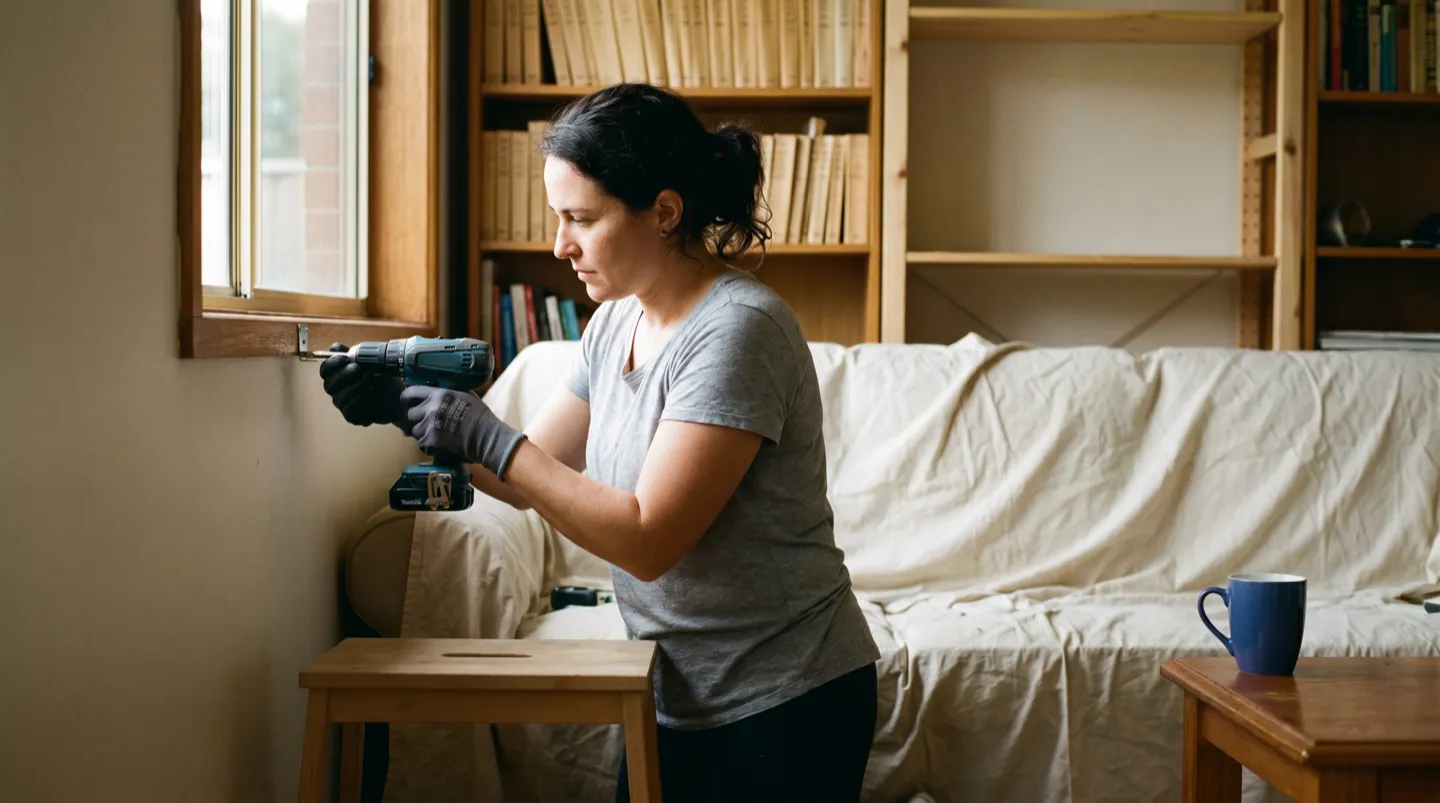
One roller on a reachable window: easy, genuinely. The same job stops being DIY when the window is over a stair void, the span is past about 2400 mm, the blind is motorised, or you're about to repeat it twenty times on a new house. The step ladder photo above is the honest ceiling. Past it, read the honest list, or skip straight to the free measure.
